

Adding a printer to your Mac is a straightforward process, but it can vary slightly depending on the version of macOS you’re using. Here’s a step-by-step guide to help you add a printer to your Mac, applicable to most recent macOS versions, including macOS Ventura and macOS Sonoma.
⚠ Prepare Your Printer :
Before starting, ensure your printer is:
Turned On: Make sure it’s powered up and ready to connect.
Connected to Your Network: For network printers, ensure they are connected to the same Wi-Fi network as your Mac. For wired printers, ensure they are connected via USB.
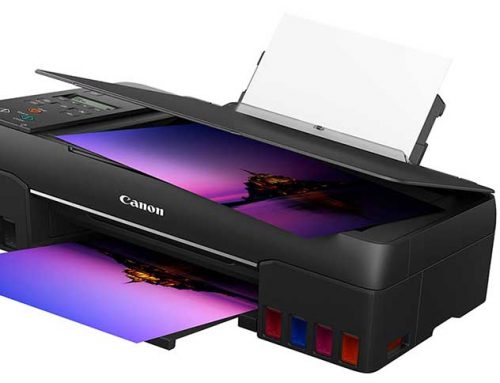
Add a USB/Wireless Printer to Apple MacOS
![]()
- Open System Preferences / System Settings:
Depending on your macOS version, follow these steps:- macOS Ventura or Earlier:
- Click the Apple Menu in the top-left corner of your screen.
- Select System Preferences from the drop-down menu.
- macOS Sonoma or Later:
- Click the Apple Menu in the top-left corner of your screen.
- Choose System Settings from the menu.

- macOS Ventura or Earlier:
- Access Printers & Scanners:
- macOS Ventura or Earlier:
- In System Preferences, click on Printers & Scanners .
- macOS Sonoma or Later:
- In System Settings, scroll down or search for Printers & Scanners .
- Click on Printers & Scanners to open the printer management interface.
- macOS Ventura or Earlier:
- Add a Printer:
- In the Printers & Scanners window, look for a list of currently installed printers.
- Click the Add (+) button to start the process of adding a new printer.
- Your Mac will search for available printers. This includes printers connected via USB and those on your network.
- Once your printer appears in the list, select it. If you don’t see your printer, ensure it is turned on and connected correctly, then click Refresh or wait a moment for it to appear.
- Click Add to proceed. macOS will install the necessary drivers and add the printer to your list.

- Install Printer Drivers :
- Automatic Installation: macOS usually installs the necessary drivers automatically.
- Manual Installation: If macOS cannot find the drivers, you may need to download and install them from the printer manufacturer’s website.
- Configure Printer Settings:
- Once added, you can configure the printer’s settings. Click on the printer’s name in the list to access Options & Supplies.
- Adjust settings such as paper size, print quality, and other preferences according to your need

- Print a Test Page:
- Open any document or image you’d like to print.
- Go to the File menu and select Print.
- Choose your newly added printer from the list of available printers.
- Click Print to ensure the printer is functioning correctly.


Troubleshooting Tips

If you encounter issues:
- Check Connections: Ensure the printer is properly connected to your Mac or network.
- Restart Devices: Sometimes a simple restart of both your Mac and printer can resolve issues.
- Update macOS: Ensure your macOS is up-to-date by going to System Preferences/Settings > Software Update.
- Check Manufacturer Support: For specific issues, consult the printer manufacturer’s support resources.
- For more options on how to install a new printer on Apple Mac devices, whether it is a MacBook Pro, iMac, or Mac mini, you can always check the Apple Website.